
The DVIR feature provides a way for you to create online vehicle DVIR reports while in the field. This helps to ensure that your vehicle confirms to the FMCSA’s safety regulations.
Driver can have a DVIR feature only if they have DVIR product enabled both on account level and driver level.
There are a number of ways to access this feature:
DVIR Feature – Main Navigation Menu
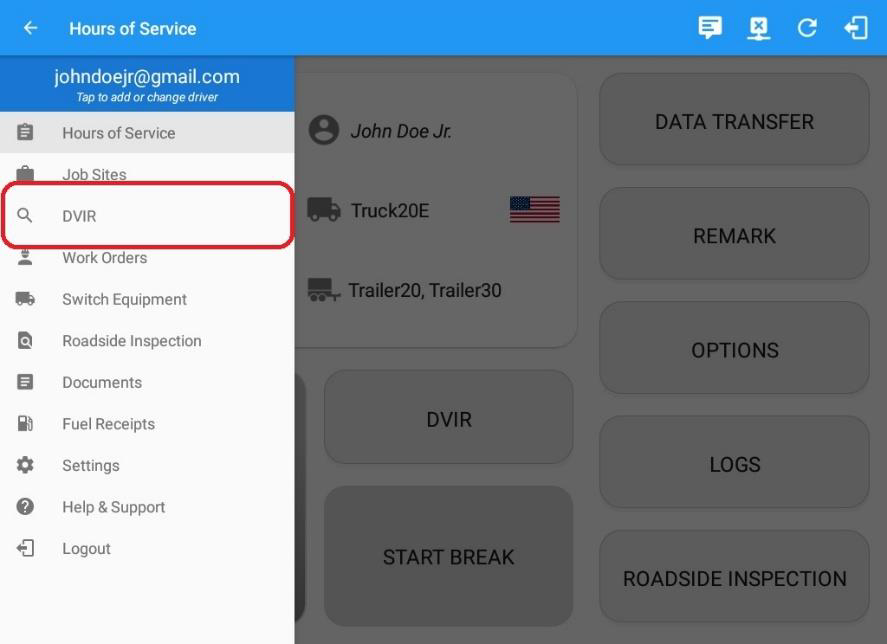
1. Slide the screen from left to right to show the Main Navigation Menu.
Or
2. Tap the Main Navigation Hamburger icon ![]() to show the Main Navigation Menu.
to show the Main Navigation Menu.
Tap the DVIR option within the Main Navigation Menu.
DVIR Feature – Hours of Service Main Screen
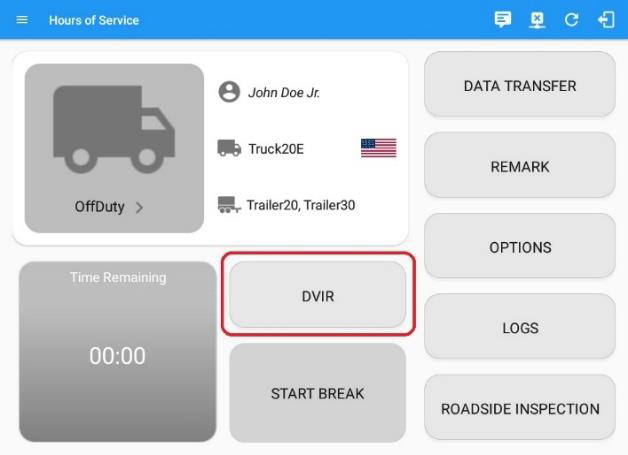
From the Hours of Service Main Screen, tap the DVIR button to display the DVIR screen.
• When driver manually/automatically change to Driving event without completing the Pre-trip DVIR, it will create a 'Remark' event with a note ‘Pre-trip DVIR not performed for Vehicle [vehicle name] or Trailer [trailer name]’.
• The Remark event will only be created once per shift.
• The Remark event will be created after it detects or when a first Driving event on the shift cycle is created.
• Also, an alert is sent only once for each vehicle or trailer that begins to drive without having done a Pre- Trip DVIR.
Selecting Your DVIR Type
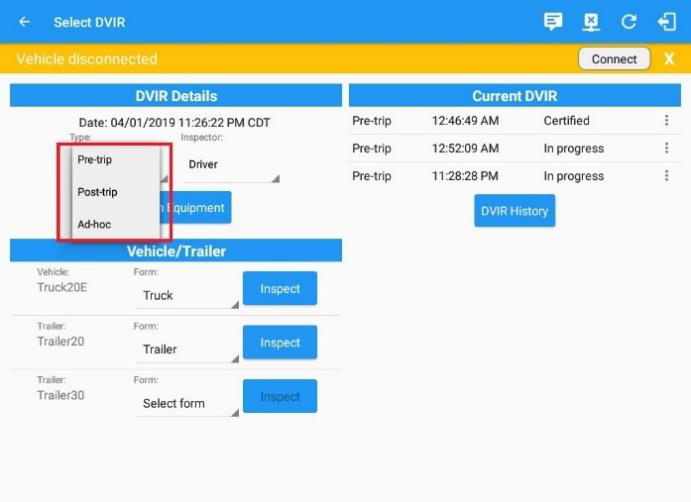
Choose the appropriate DVIR Type from the
following options.
Choose the appropriate Inspector from the following options.
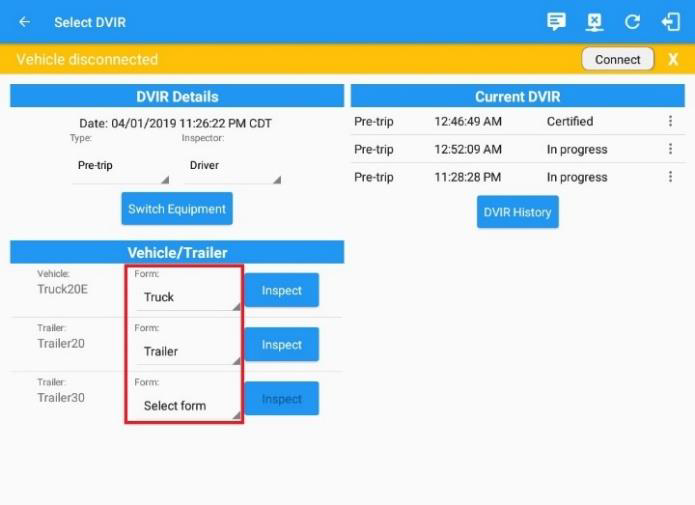
You can select a DVIR Form from the 6 default DVIR forms or you can also select a Customized DVIR Form for Asset(s) also from the list.
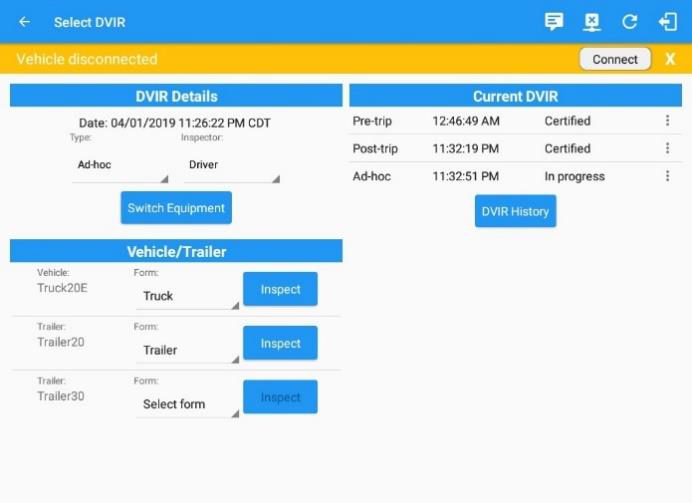
a) Pre: A DVIR conducted before driving the CMV.
b) Post: A DVIR conducted after driving a CMV.
c) Ad Hoc: Any DVIR conducted in any other period that the ones specified in points a & b.
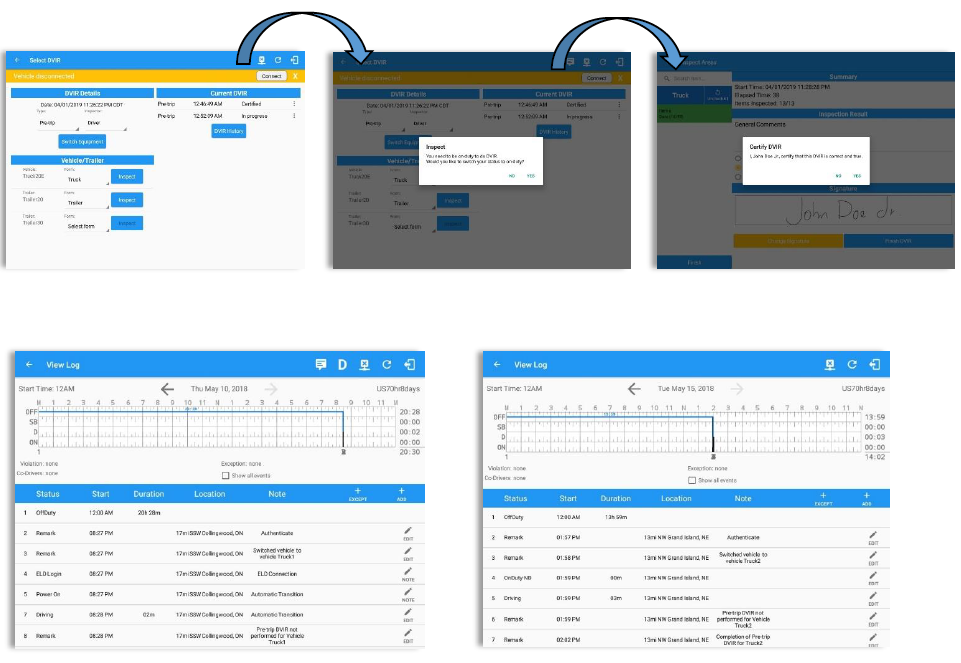
Starting Your DVIR
Tap the Inspect button ![]() in each equipment to start the DVIR, you will be directed to the DVIR screen. Note: However, a dialog as shown below will display that will ask confirmation to switch you to On Duty status to do DVIR if current duty status is in Off Duty or will take you out to Personal Use if current status is Off Duty under Personal Use.
in each equipment to start the DVIR, you will be directed to the DVIR screen. Note: However, a dialog as shown below will display that will ask confirmation to switch you to On Duty status to do DVIR if current duty status is in Off Duty or will take you out to Personal Use if current status is Off Duty under Personal Use.
Note: However, a dialog as shown below will display that will ask confirmation to switch you to On Duty status to do DVIR if current duty status is in Off Duty or will take you out to Personal Use if current status is Off Duty under Personal Use.
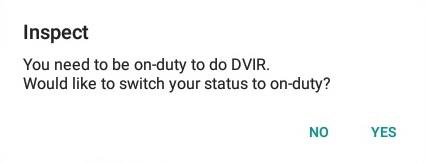
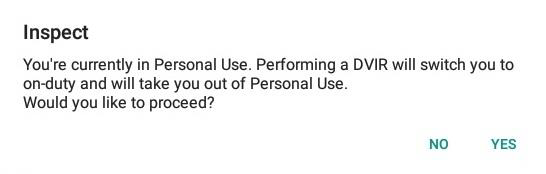
If current duty status is Off Duty If current duty status is Off Duty under Personal Use
Searching a DVIR Item
A Search field ![]() is available located on the top of the DVIR form name which allows driver to search specific inspection item.
is available located on the top of the DVIR form name which allows driver to search specific inspection item.
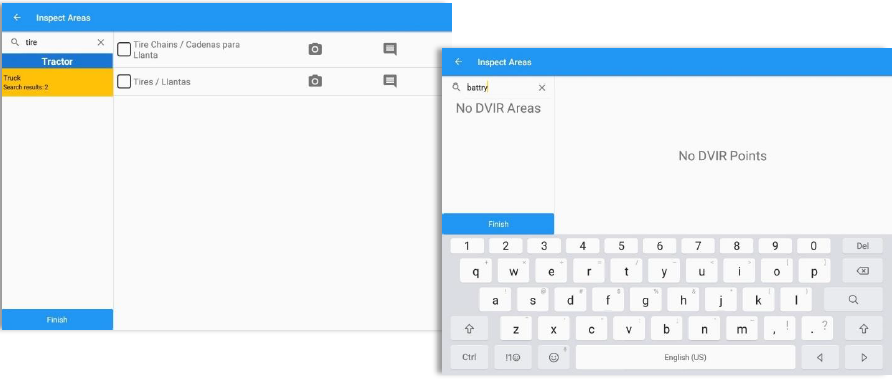
Type the specific inspection item on the Search text field. Search results will then show on the DVIR item list. If entered keyword has no DVIR item match, it will display ‘No DVIR Areas’ and ‘No DVIR Points’.
Completing the First DVIR Area
The first DVIR Area is selected by default. You can also tap its corresponding tab to display the DVIR items under this area.
You can select the status of each DVIR Item by tapping their respective tri-state check boxes as listed below.
Tap the unselected check box once or select the green ![]() Thumbs Up icon to specify that the item has passed.
Thumbs Up icon to specify that the item has passed.
Tap the unselected check box twice or select the red ![]() Thumbs Down icon to specify that the item has failed.
Thumbs Down icon to specify that the item has failed.
Tap the unselected check box three times or select the ![]() NA icon it the item is not applicable for the current DVIR.
NA icon it the item is not applicable for the current DVIR.
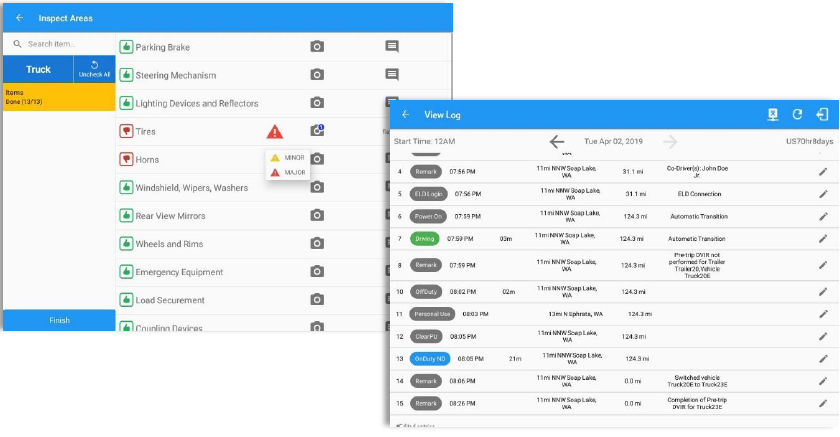
When failing a DVIR, an option for selecting a severity level will appear with its corresponding color: Major – Red ![]() or Minor – Yellow .
or Minor – Yellow .
Tap the Check All button to automatically select all the DVIR items.
Capturing an Image of a DVIR Item
If you wish to capture an image of a DVIR item, you can tap the Camera Button. The Camera app will then appear, proceed to take a picture of the DVIR item. After tapping the Capture Image Button, select the Save button to save the image and add it to your item report. You can also discard the captured image by selecting the Cancel button.
Add a Comment or Remark to a DVIR Item
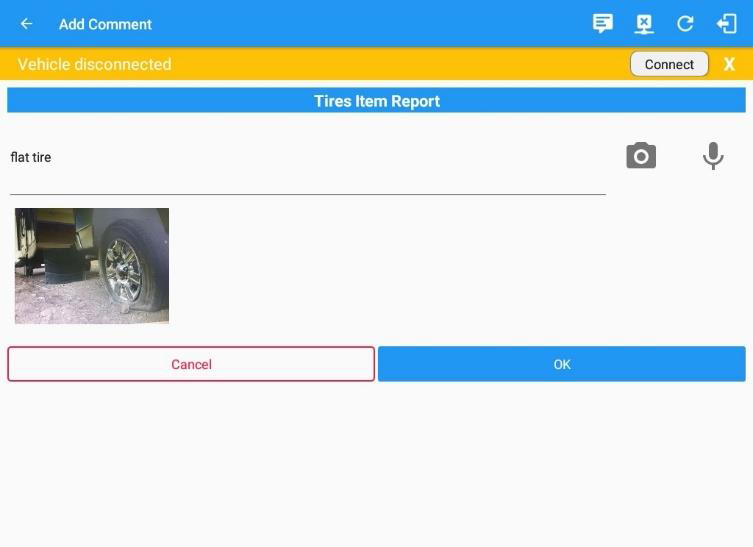
You may add comments or remarks against a DVIR item by tapping the  Comment button, enter the relevant comment or remark in the Enter Report field, tap the Camera button to add more images if required and select the OK button to finish adding your images and comments or remarks.
Note: You can also tap the Voice Dictation button (speech to text) to use voice dictation instead of typing your comments or remarks.
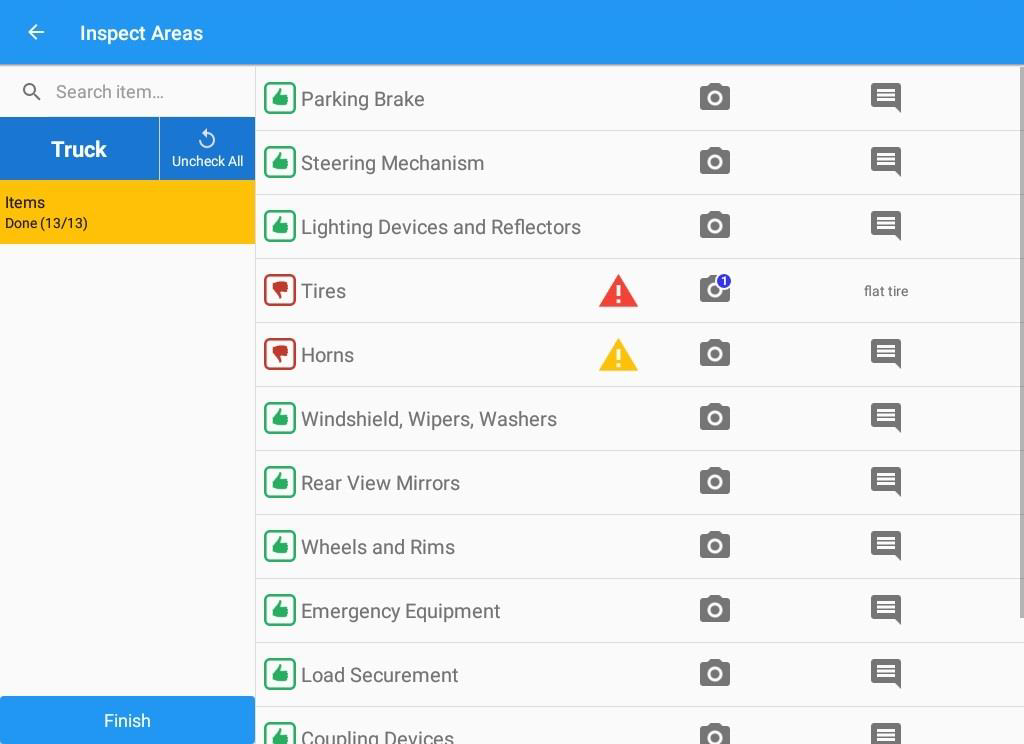
If you add an image and a comment or remark to the DVIR item, the camera button will have a numbered icon over it depicting the number of images that have been attached; also, any comments or remarks that have been added will be displayed and will replace the Comments button.
Finishing / Certifying Your DVIR
To finish / certify your DVIR, select the Finish tab, this will display the information detailed on the
next page.
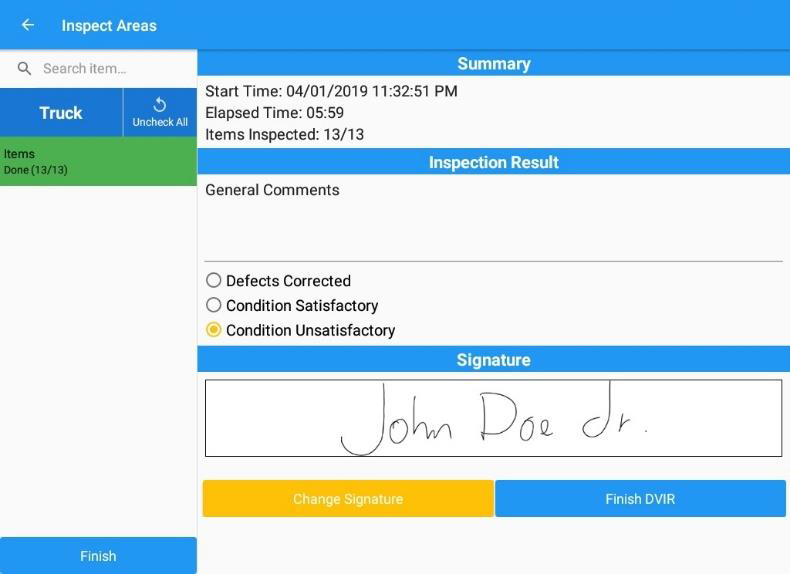
Summary

• Start Time – the date and time the DVIR was started.
• Elapsed Time – the duration of the current DVIR.
• Items Inspected – this is a counter for the number of items already inspected.
Remaining Items

This will only be displayed if you have not yet updated all of the DVIR items, this will show the item(s) that are still to be inspected.
Inspections Results
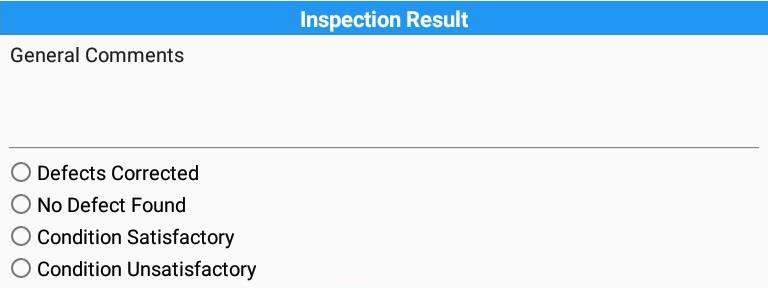
General Comments – this is where you can enter your general DVIR report comments
One of the following options must be selected before the DVIR can be finished / certified.
• Defects Corrected
• No Defect Found (Note: ‘No Defect Found’ option is only available for Canadian cycle drivers.)
• Condition Satisfactory
• Condition Unsatisfactory
Signature
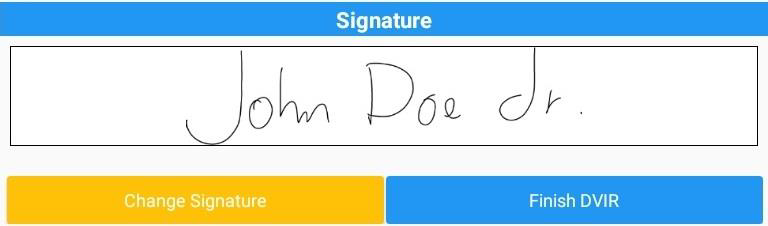
Drivers can change their signature by tapping the Change Signature button.
Mechanics and other inspectors can create their signatures by tapping the Change Signature button.
Selecting the Change Signature button will open the Create Your Signature Here screen:
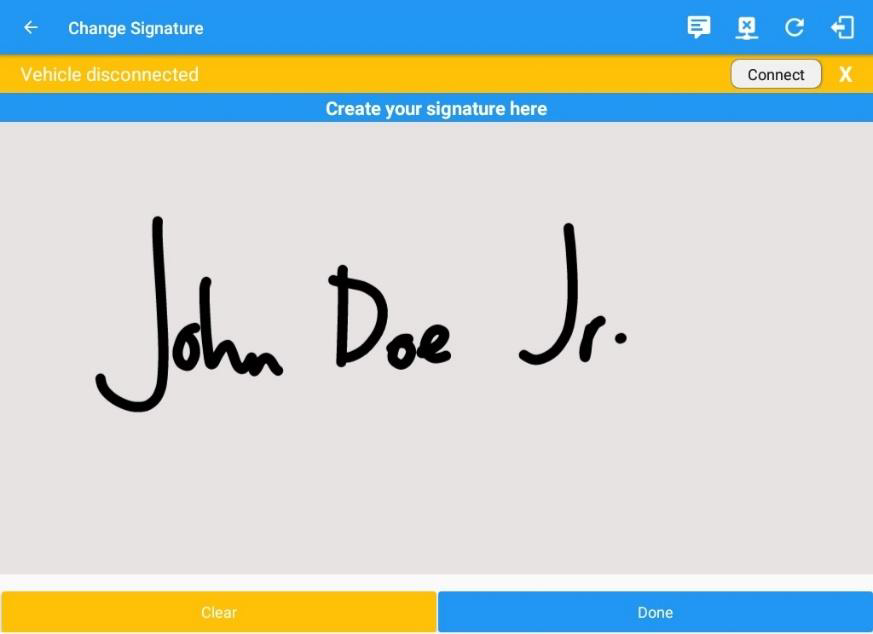
Tap the Done button to save your signature or tap the Clear button to discard the signature
Submit or Certify the DVIR
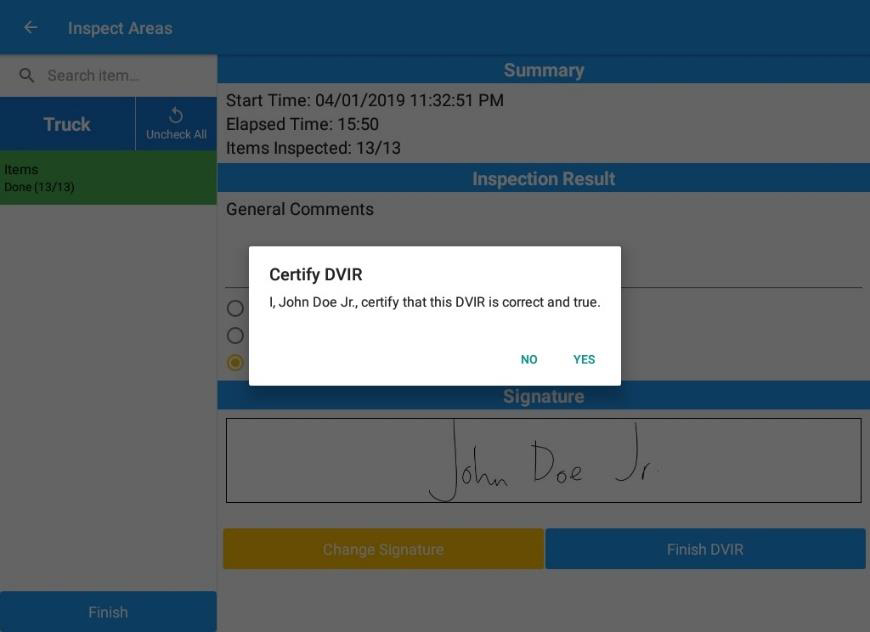
Tap the Finish DVIR button to finish / certify the current vehicle DVIR. Finally, after reviewing all of the DVIR details tap the OK button to certify the DVIR. You can also cancel certifying the DVIR by tapping the Cancel button.
After successfully certifying the DVIR, a remark event will be created in the Edit Logs screen stating the completion of Pre/Post/Ad-Hoc DVIRs.
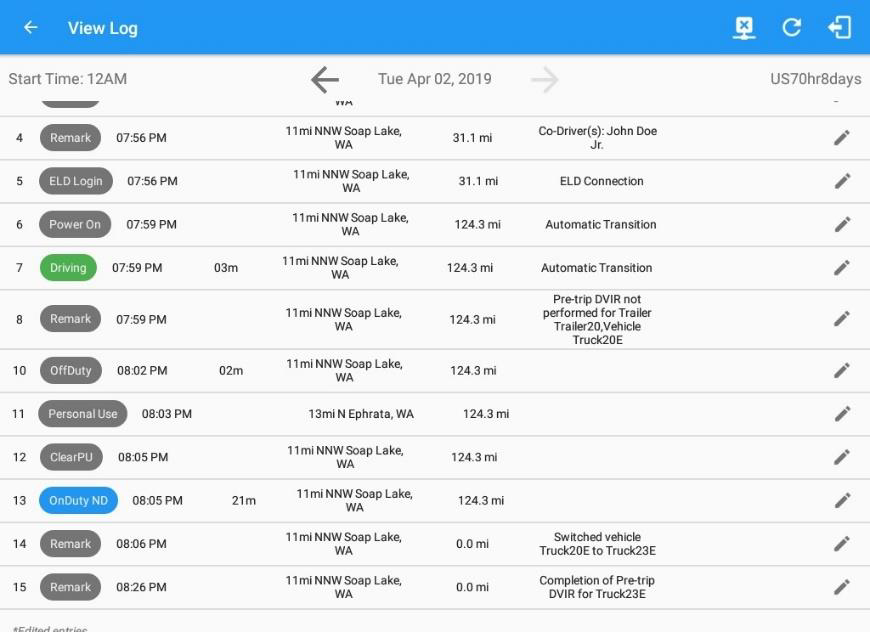
Note: A remark ‘Pre-trip DVIR not performed for Vehicle [vehicle name] or Trailer [trailer name.]’ will display in event history list when driver went Driving without performing Pre-trip DVIR.
Deleting a DVIR
Go to the Current DVIR section. This is where you can view a list of the DVIRs conducted within the Vehicle DVIR screen:

• Tap the Email button to send the completed DVIR to an intended recipient.
• Tap the View button to view the DVIR details (once submitted, this cannot be amended).
• Tap the Remove button to remove the DVIR (once submitted, this cannot be removed).
Emailing a DVIR
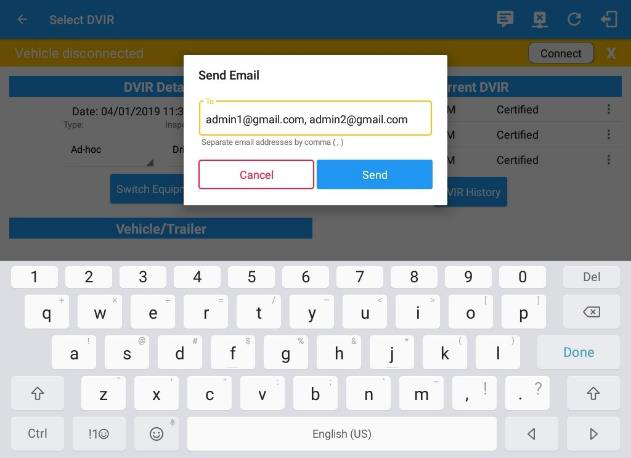
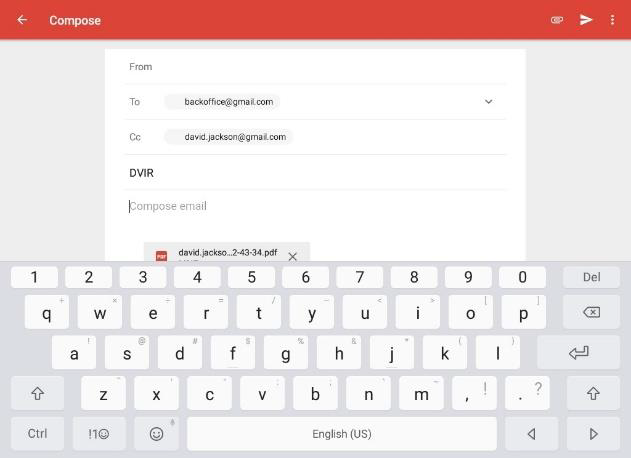
Emailing a DVIR via Server Emailing a DVIR via Mobile App
• If Email Sender is set to Server, a Send Email dialog will display when the driver taps Email button to send the completed DVIR. Enter the email address for the recipient. If the recipient is more than one, separate email addresses by comma.
• If Email Sender is set to Mobile App, an app will open (e.g. Gmail app will open for Android device) with a new message that has a DVIR Report PDF file attached.
Note: Email Sender option can be set in the portal->account settings under App Controls -> Email Sender.
DVIR History
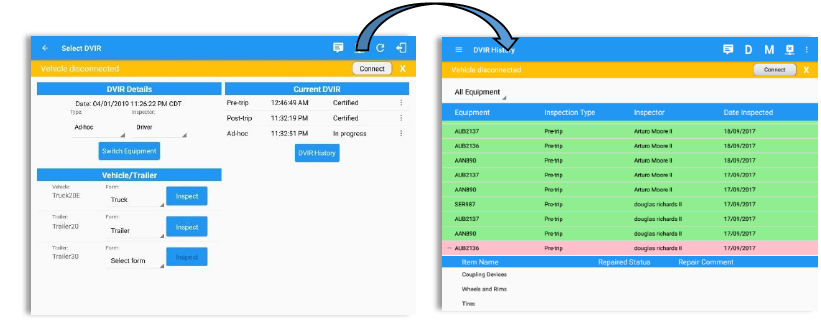
The DVIR History feature displays the DVIRs for the last 30 days for the currently selected equipment. Completed DVIRs that don't have failed items shows in a row highlighted in green color while Completed DVIRs with failed items are highlighted in red. Also, a '+' can be tap to show the details of failed items.
Viewing DVIR History by Vehicle
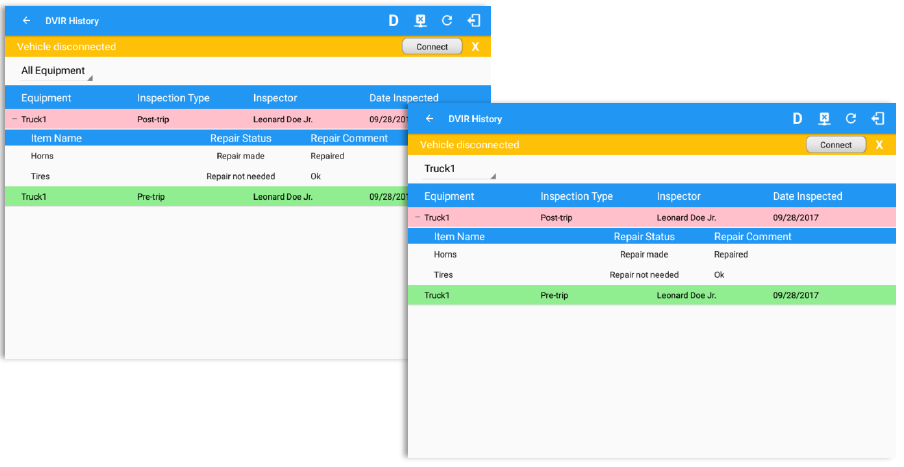
• DVIR Screen displays DVIR inspections for all equipment by default.
• Tap the Equipment name on the upper left of the screen to view the DVIR of the specified vehicle.
Comments
0 comments
Please sign in to leave a comment.